Why Homeowners Need to Understand the Process
A roof replacement is one of the largest investments most homeowners will make. Yet for many, the process is a mystery. They imagine a crew showing up, tearing off shingles, and leaving behind a new roof—but the reality is much more detailed. Understanding the step-by-step process helps you know what to expect, reduces stress, and ensures you can prepare your home properly. It also allows you to spot whether your contractor is following industry best practices.
Step 1: Initial Consultation and Estimate
The replacement process begins with a consultation. Contractors inspect your roof, identify problems, and recommend replacement if repairs are no longer cost-effective. During this stage, they provide estimates that break down material options, labor costs, and project timelines.
What You Should Ask During Consultation
- How long will the replacement take?
- What materials do you recommend and why?
- What warranties are included?
- How will the crew protect my property during the job?
A detailed consultation builds trust and ensures everyone is on the same page before work begins.
Step 2: Choosing Materials and Finalizing the Contract
Once you decide to move forward, you’ll select the materials, colors, and design features. Options include asphalt shingles, metal, slate, or tile, each with different lifespans and price points. After making your choice, a contract is finalized outlining scope of work, cost, and payment schedule.
A reputable contractor provides everything in writing, so there’s no confusion later.
Step 3: Preparing the Property
On installation day, preparation is key. Crews arrive with dumpsters, tarps, and equipment. They cover landscaping, move outdoor furniture, and protect siding and windows from falling debris. Vehicles should be moved from the driveway to allow easy access for trucks and materials.
Homeowners should also secure fragile items inside, since hammering and movement on the roof can cause vibrations.
Step 4: Removing the Old Roof
The tear-off stage is noisy and messy, but it’s essential. Crews strip away shingles, nails, underlayment, and flashing. This process reveals the decking beneath, which is inspected for rot or damage. If weak sections are found, they’re replaced before new materials are installed.
Skipping this step or layering new shingles over old ones may save money upfront but reduces the roof’s longevity and voids warranties.
Step 5: Installing Underlayment and Flashing
Once the deck is sound, contractors lay down underlayment—a water-resistant barrier that protects against leaks. Ice and water shields are added in vulnerable areas like valleys and eaves. Flashing is then installed around chimneys, skylights, and vents to seal joints and prevent water intrusion.
This step creates the foundation for a leak-resistant roofing system.
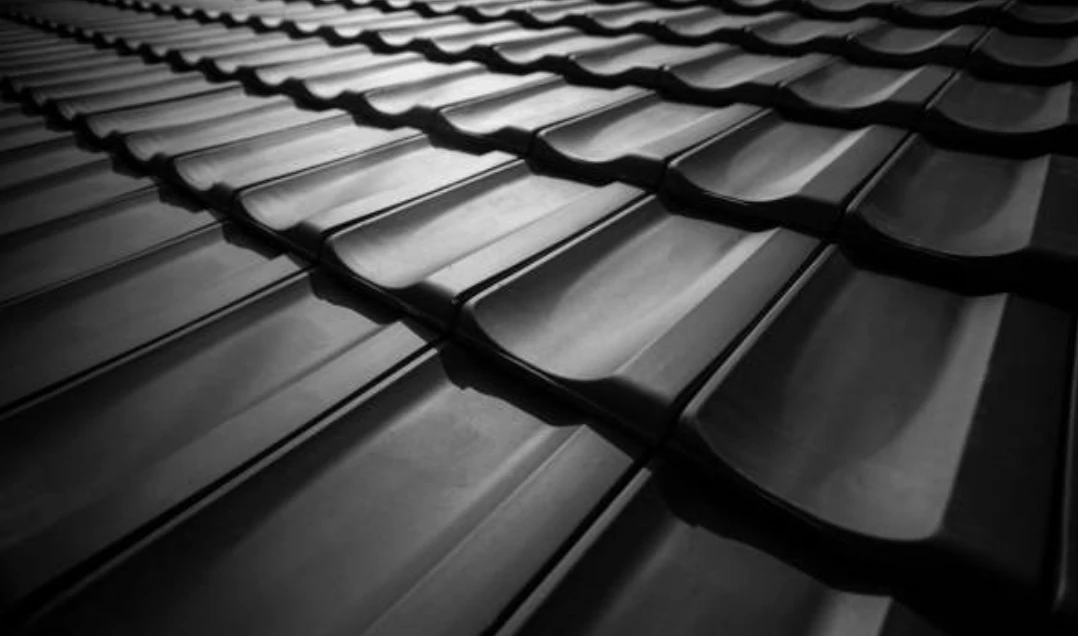
Step 6: Shingle or Material Installation
Now comes the most visible part of the process: laying the new roofing material. Shingles are installed in overlapping patterns to create a watertight seal. Metal panels are locked into place with standing seams, while slate or tile requires careful alignment and fastening.
Attention to Detail Matters
- Nails must be placed precisely to avoid voiding warranties.
- Shingles should be straight and consistent for proper drainage.
- Special techniques are used in valleys and edges where leaks are most likely.
Professional crews ensure these details are done correctly, setting the stage for decades of performance.
Step 7: Ventilation and Ridge Caps
Proper ventilation is critical for roof health. During replacement, contractors add or improve ridge vents, soffit vents, or attic fans to balance airflow. Ridge caps are installed to seal the highest point of the roof while allowing air circulation.
Good ventilation prevents heat buildup, reduces moisture, and extends the lifespan of your new roof.
Step 8: Cleanup and Final Inspection
After installation, crews clean the property thoroughly. Nails and debris are collected using magnetic tools, and dumpsters are hauled away. A final walkthrough ensures flashing, shingles, and ventilation are all properly installed.
Reputable contractors also provide documentation of the work and explain warranty coverage.
Step 9: Warranty and Long-Term Care
Your roof replacement doesn’t end when the crew leaves. Contractors should provide a workmanship warranty, and manufacturers typically offer material warranties. Keep these documents safe for future reference.
Establishing a maintenance routine—like annual inspections and gutter cleaning—helps preserve your new roof’s condition and ensures warranties remain valid.
Why Professional Expertise Matters
Every step of a roof replacement requires training and precision. Partnering with an experienced Nassau County roofing contractor ensures the process is smooth, efficient, and completed to the highest standards. Local expertise also means familiarity with regional weather challenges and building codes.
Preparing for Your Replacement Project
Homeowners can take steps to make the process smoother:
- Clear the driveway and yard of vehicles and obstacles.
- Inform neighbors about the project schedule.
- Secure valuables inside the home.
- Keep pets and children away from the work area.
The more prepared you are, the less stressful the experience will be.
The Long-Term Payoff
A professionally replaced roof improves curb appeal, boosts resale value, and protects your home for decades. While the process may seem disruptive, it’s an investment that delivers peace of mind and financial benefits. Understanding each step ensures you know exactly what to expect and allows you to enjoy the results without worry.

